Introduction 🔗
I have no formal training in computer science and would not consider myself an engineer. I do, however, think of myself as someone who “gets the job done”. As I have worked in several startups (each subsequent company tends to get smaller 👀), I’ve picked up a scrappy mindset where I love learning new things. And fortunately, these smaller starts up offer the latitude to fail quickly and learn (more?) quickly!
In this post, I will show you the process of how I learned how to make this website!
Getting Started: Hugo 🔗
I’m assuming that you have some knowledge of python and git but this is your first foray into hugo and netlify. Let’s start with what Hugo is.
Hugo is built up on Go, making it super fast and responsive. It’s abstracted out enough from Go to make it simple for people who don’t build websites for a living (like me) but at the same time highly extensible. First install hugo on to your machine:
brew install hugo
Once you have hugo installed, go to whatever base directory you work out of and run the following:
hugo new site personal-website
This will create a new folder titled personal-website with this directory tree:
personal-website
├── archetypes
│   └── default.md
├── config.toml
├── content
├── data
├── layouts
├── public
├── static
└── themes
For the purposes of keeping this tutorial succinct, the main folders you will utilize will be:
config.toml- Basic configuration file. Controls things like what language your site will render in or whether to enable emojis (obviously you should enable, duh 😜).content- The content in markdown form on your website.static- All of your non-dynamic files (e.g. images, css, etc).themes- The template for how your site will be displayed. There are a multitude of themes to choose from on Hugo!
Getting Started: Poetry 🔗
Poetry is a package dependency tool. It will allow you to create a virtual environment that mimics the one I am currently in, and thus will enable you to reproduce any work that I do!
Once you’ve installed poetry, initialize poetry within your personal-website folder and it should create a pyproject.toml Within your pyproject.toml file, copy the contents of my pyproject.toml file. Then run poetry install and SHAZAAM! This should create a poetry.lock file and now your machine should more or less function the same as mine 😃:
# install poetry
curl -sSL https://install.python-poetry.org | python3 -
# initialize poetry within your project
poetry init
# After copying my poetry.lock file, this should install all my packages onto your machine
poetry install
Getting Started: Netlify 🔗
Hugo pairs nicely with Netlify. Hugo is a great service to build your website, but you need Netlify to deploy your app. There is already great documentation on pairing the two, so I won’t go into great detail. Create an account on netlify and connect it to your GitHub repo. Make sure you create a netlify.toml file and copy and paste the contents of my netlify.toml file.
Setting up your home page 🔗
The first step to building your website is to choose your theme. I went with hugo-theme-mini because I felt it was simplistic and met the purposes of my website. Copy the contents of the repo into your themes folder (Note, I had to make some small tweaks to my theme, so mine may not exactly match yours)
git clone https://github.com/nodejh/hugo-theme-mini themes/hugo-theme-mini/
Now that you chose and obtained your theme, update your theme variable within your config.toml file to reflect the folder that houses your theme. Your config should look something like this
baseURL = 'yourwebsitename'
languageCode = 'en-us'
title = 'My New Hugo Site'
theme = 'hugo-theme-mini'
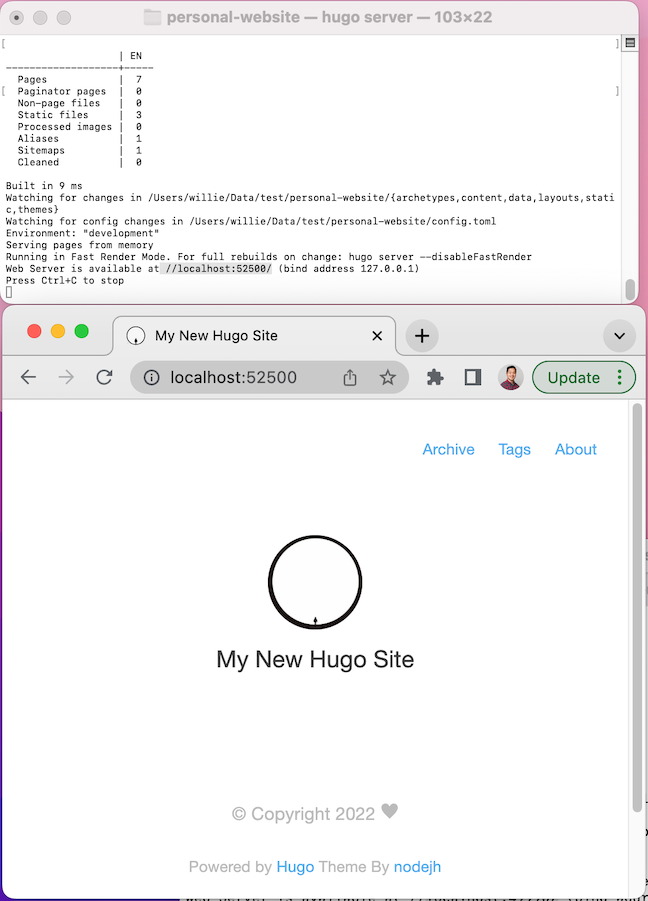
Now if you run hugo server, your website will compile locally and you have taken the first step towards building your website 🎉. Just type in the localhost number produced into your browser. In this case //localhost:52500/.
hugo server

Customizing your home page 🔗
You’re now building your website from scratch, so the customizations are endless. But for the purposes of this tutorial, we’re gonna stick closely to the template and just make some basic changes.
Let’s start with the fundamentals of how pages are constructed. Within the layouts directory are HTML templates; each file determines how aspects of your page will look. The HTML code that produces the title and summary for your homepage is in layouts/index.html.
The parameters Title and Params.Bio are the variables that the HTML file is using to build your site.
<h1>{{ .Site.Title }}</h1>

{{ with .Site.Params.Bio }}
  <h2>{{ . | markdownify }}</h2>
{{ end }}
We can change the title and bio of your website by updating the variable in config.toml file. It should look something like this:
baseURL = 'yourwebsitename'
languageCode = 'en-us'
title = 'MY AWESOME NEW WEBSITE'
theme = 'hugo-theme-mini'

[params]
  bio = 'Data is fun'
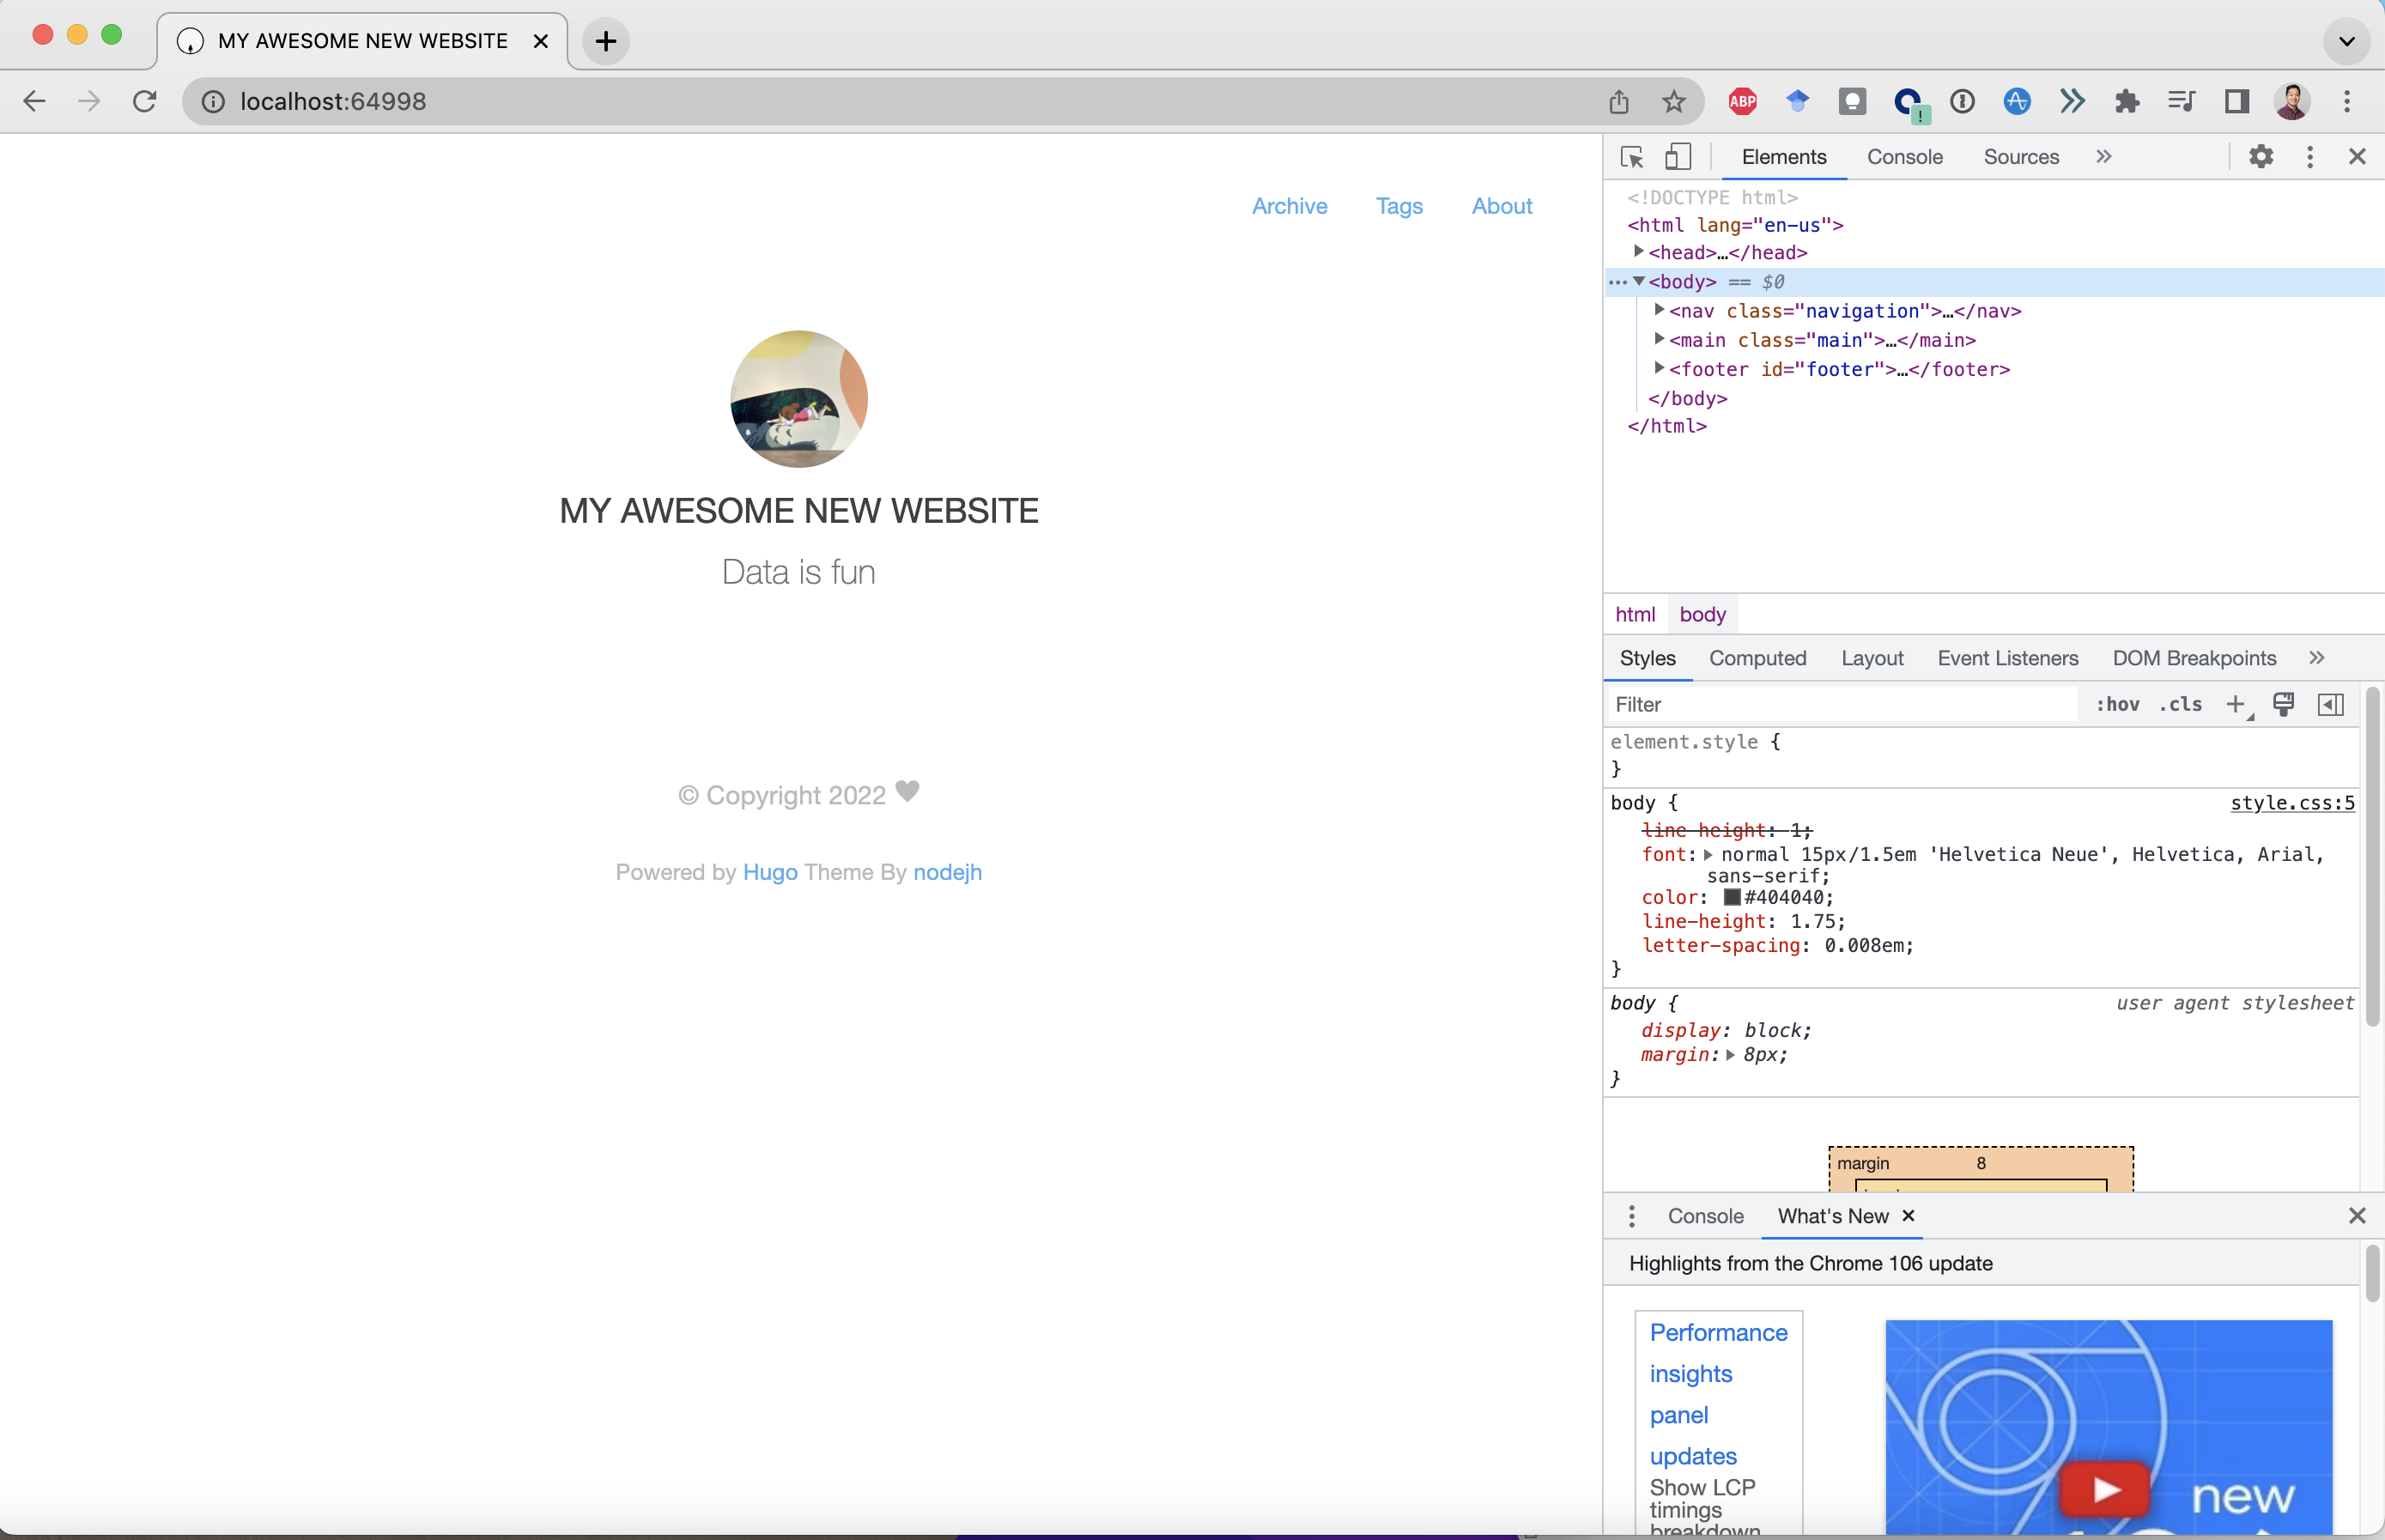
The code that produces the image on your home page is also in layouts/partials/profile.html"
<header class="profile">
    {{ if .Site.Params.avatarLink }}
        <a href="{{ .Site.Params.avatarLink }}">
          <img class="avatar" alt="avatar" src="{{ "/images/avatar.png" | relURL }}" />
The static directory is where you store the images you want to you. This particular code is looking for a file name avatar.png within the directory static/images/. So let’s initialize this folder structure then download this sample image from my github and copy it to your new /static/images/ directory.
# make a new images directory under static
mkdir static/images/
# copy downloaded file to new images directory and change name to avatar.png
cp sample_avatar.png static/images/avatar.png

tip: use option + ⌘ + J to use developer tools to debug your code quicker
Adding an About Me Page 🔗
Next, I want to add an about page. To do so, we need to leverage the content folder. In Hugo, content is where you put your markdown files, which are the pages of your website. Hugo will generate an HTML file and create a new web directory.
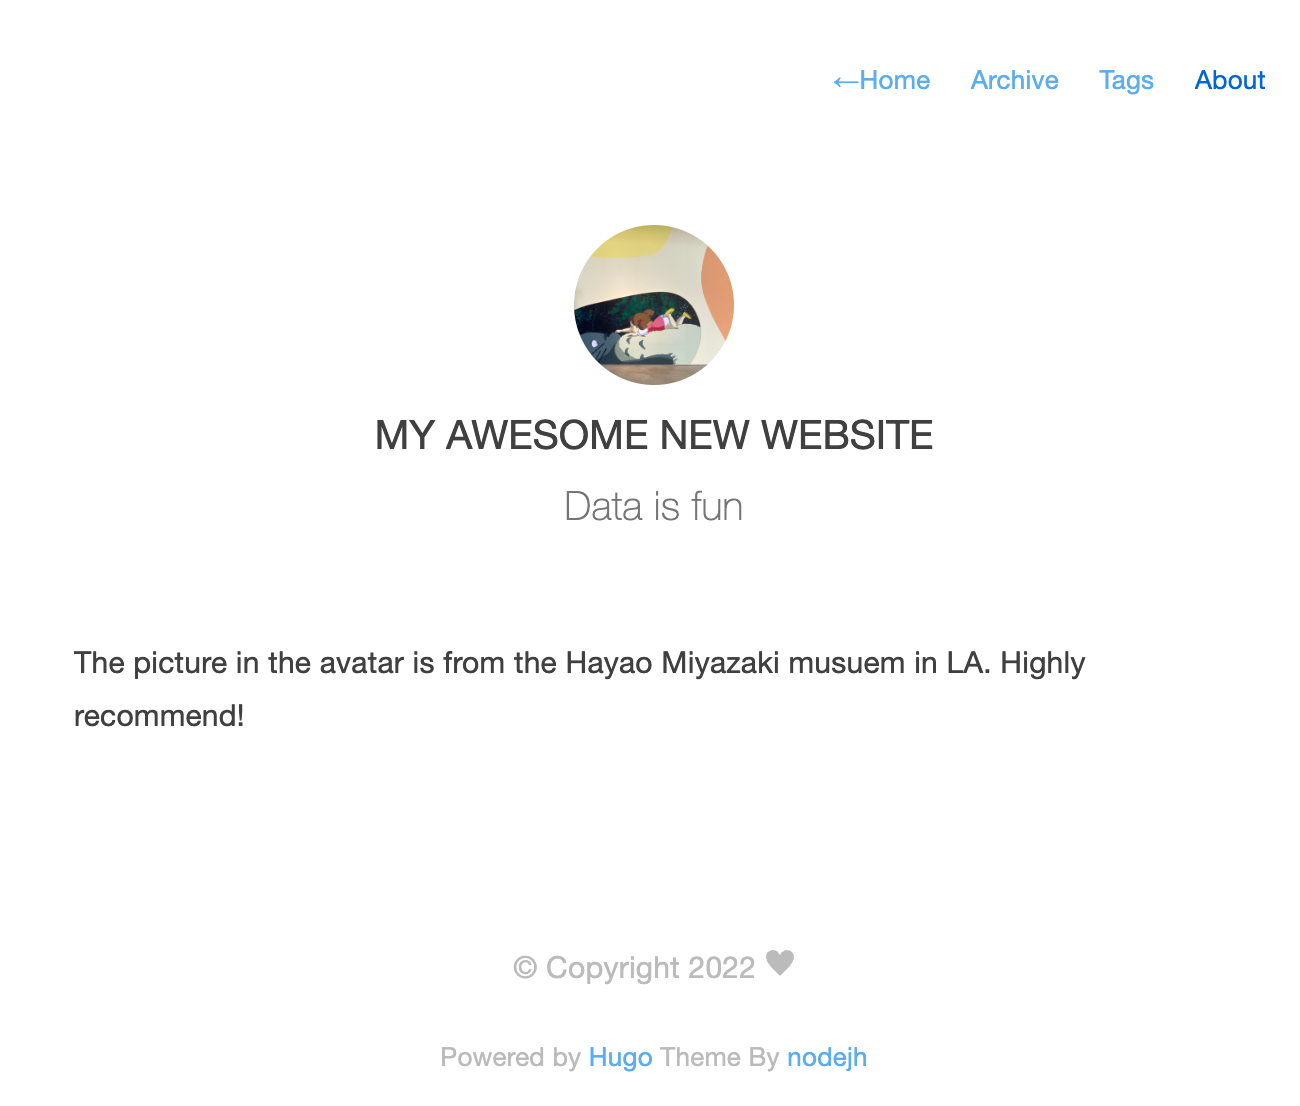
In layouts/partials/navigation.html is where we see the about tag referenced in the navigation
<a href="{{ "/about" | relURL }}">{{ with .Site.Params.about }}{{ . }}{{ else }}{{ i18n "about" }}{{ end }}</a>
Create a _index.md file under the subdirectory /content/about then open the file
mkdir content/about && touch content/about/_index.md
vim content/about/_index.md
This /about/_index.md` page will represent what you will see under your about page. Let’s add some content
---
title = "About"
description = "Description about file"
date = "2022-10-11"
author = "Your Name"
---

The picture in the avatar is from the Hayao Miyazaki musuem in LA. Highly recommend!

Creating Posts 🔗
To create posts, initialize as md file in content/posts. All new md files will show up as new posts. So for example, let’s create a post named markdown-syntax.md where we go overview how to write markdown files.
# Create a new directory with a markdown-syntax file
mkdir content/posts && touch content/posts/markdown-syntax.md
# Update the contents of the file
vim content/about/markdown-syntax.md
In markdown-syntax.md input the following
---
author = "Your Name"
title = "Markdown Syntax Guide"
date = "2022-10-11"
description = "Sample article showcasing basic Markdown syntax and formatting for HTML"
---

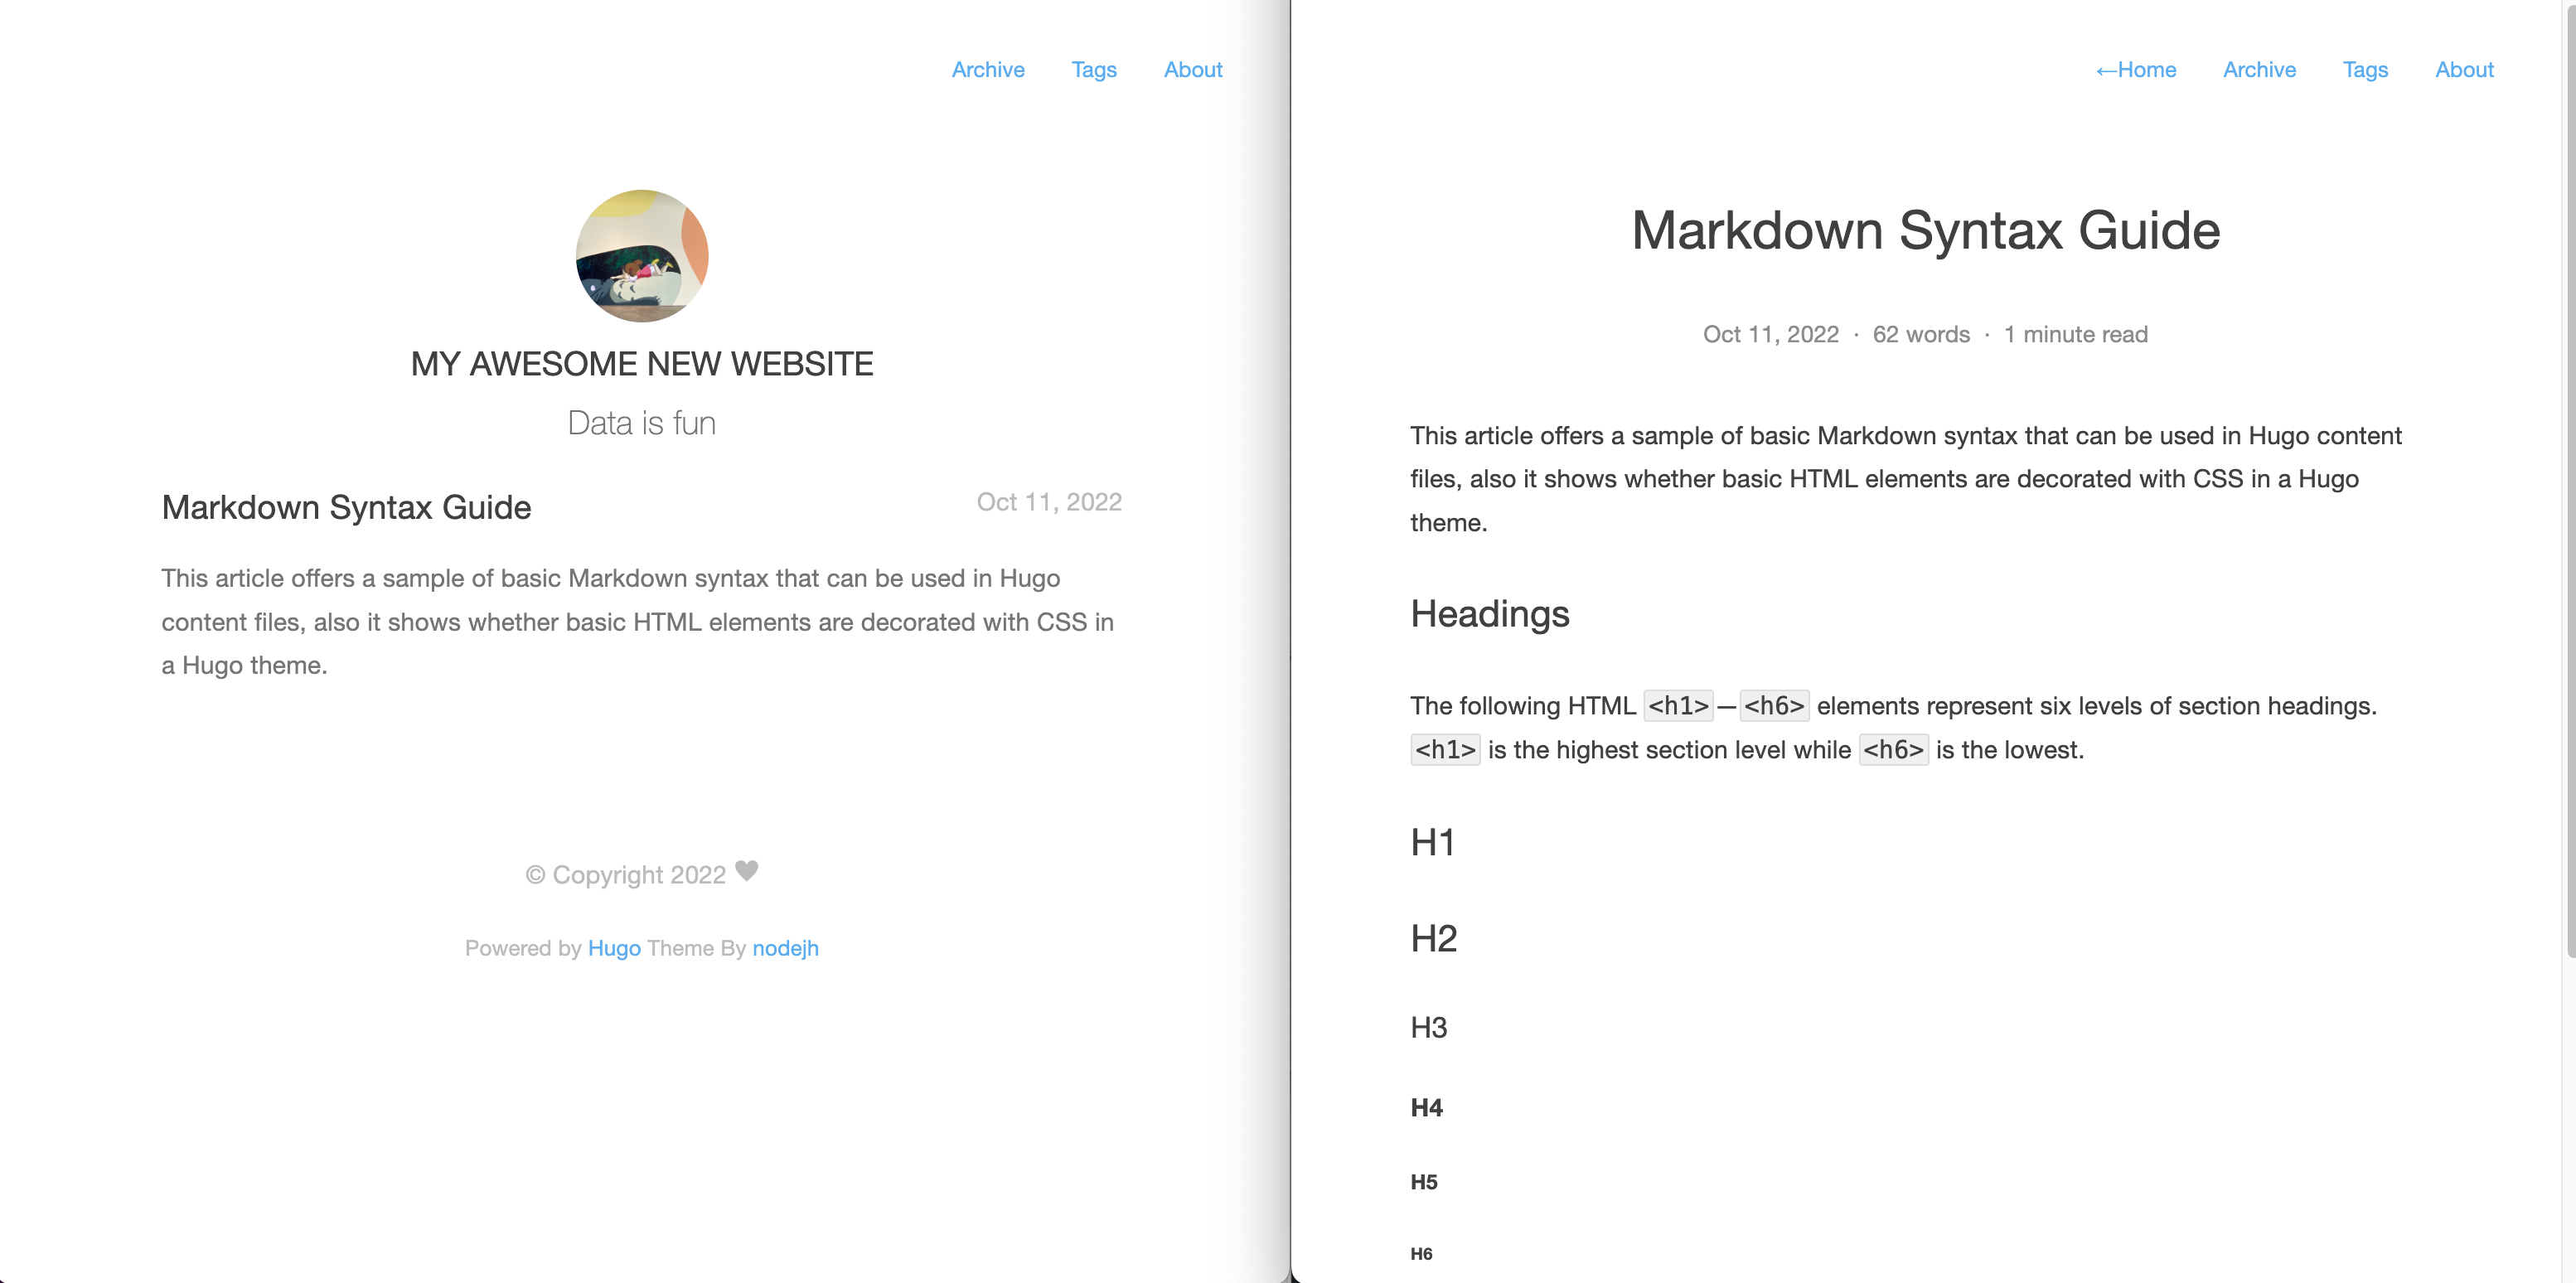
This article offers a sample of basic Markdown syntax that can be used in Hugo content files, also it shows whether basic HTML elements are decorated with CSS in a Hugo theme.
<!--more-->

## Headings

The following HTML `<h1>`—`<h6>` elements represent six levels of section headings. `<h1>` is the highest section level while `<h6>` is the lowest.

# H1
## H2
### H3
#### H4
##### H5
###### H6
Again, everything between the three dashes is metadata. And the content above <!--more--> is what will show up as a precursor for the blog post and everything below that will be the actual content seen when opening up the blog.
Advanced Customizations 🔗
The out-of-the-box template for hugo-theme-mini offers the bulk of what you need for a blog-based website. But let’s say you want to add some of your professional handles (like Linkedin or Github) to the top of your page. In layouts/partials/profile.html you can add HTML code for these handles:
<h1>{{ .Site.Title }}</h1>

<nav class="social-heading">
  {{ if .Site.Params.linkedin }}
    <a target="_blank" href="{{ .Site.Params.linkedin }}">LinkedIn</a>
  {{ end}}
  {{ if .Site.Params.github }}
    <a target="_blank" href="{{ .Site.Params.github }}">| GitHub</a>
  {{ end}}
  {{ if .Site.Params.twitter }}
    <a target="_blank" href="{{ .Site.Params.twitter }}">| Twitter</a>
  {{ end}}
</nav>
This is one example of many different customizations you can add to your website as you become more proficient in HTML.
Summary 🔗
Creating a tutorial on how to create a website was harder than I thought 😅. I see why there aren’t many resources out there.
But as always, if you have any questions, feedback, or just want to connect, don’t hesitate to reach out!